Step 1: Power On and Power Off
Connect the Solo power supply, and press and hold the power button until the screen lights up, indicating that it is booting up. The boot process usually takes 1 to 2 minutes, so please be patient. While in the powered-on state, press and hold the power button to display the shutdown progress bar, which typically requires a long press of 5 seconds.
Step 2: Go online
Solo supports internet access via Ethernet, Wi-Fi, and dual 4G SIM card slots. The Aggregation version supports the use of up to four networks simultaneously, while the Direct Push version can only use one network. Solo can only be remotely configured when it is online, so please ensure that at least one network is successfully connected before setting it up.
Step 3: Register an Account
To log in to the Solo backend, you first need to register an account. The registration address ishttps://solo.liveutv.netYou can also send the registration information to the staff at Oneband, who will assist in completing the registration and binding of the SOLO device, as well as other preliminary setup tasks.
Step 4: Management Platform
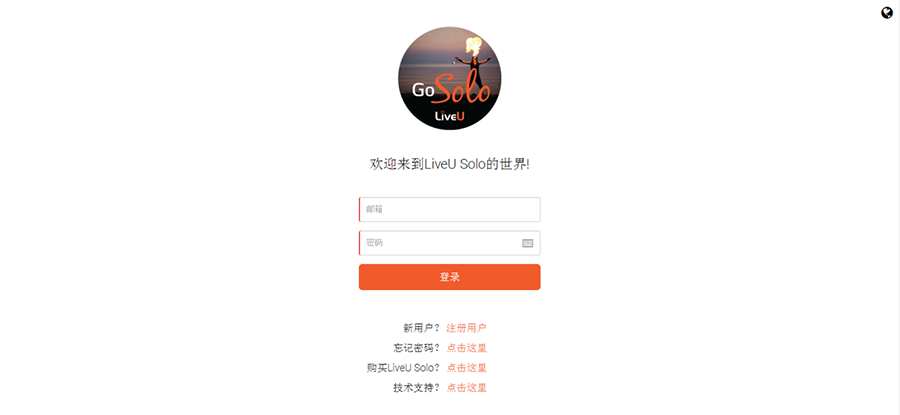
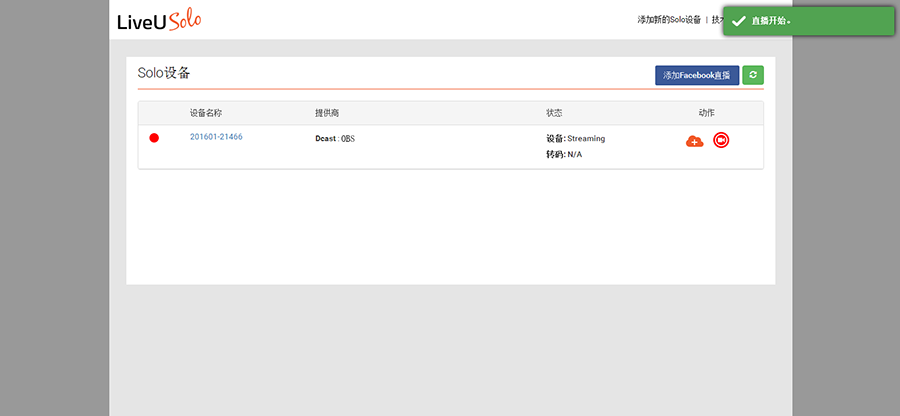
First-time registration and login to the LiveU SoLo management platform; as shown in the image below.
1. Log in to the SoLo management platform.
Login address:https://solo.liveutv.netEnter your account and password; then click the login button; log in to the SoLo device management platform.
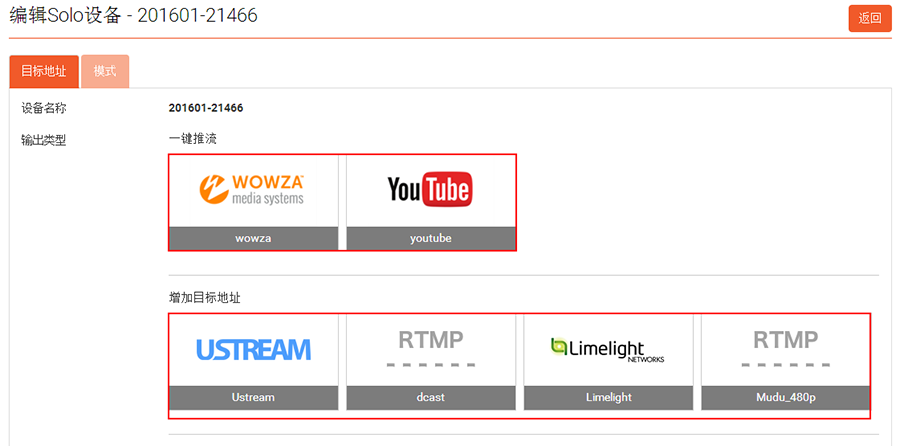
2. Click the edit button; add an option to fill in the live broadcast address:

3. In the editing interface, select the live streaming method: such as adding an RTMP address, or streaming to YouTube, WOWZA, Facebook, etc.~
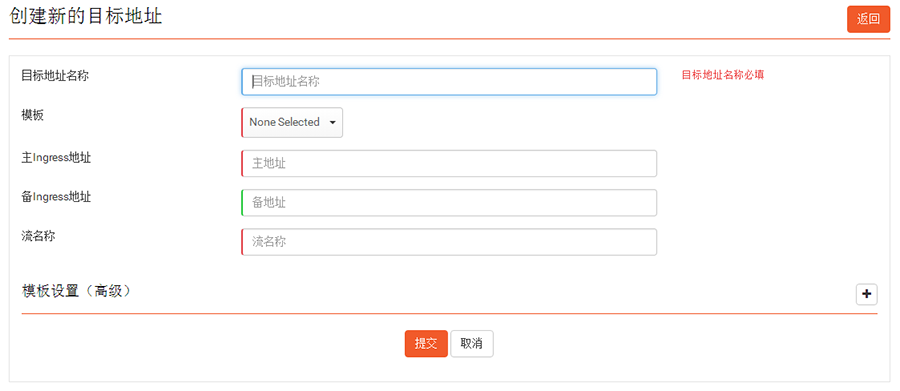
4. To add RTMP as a column; the setup method is as follows:
Click the "RTMP" button below "Add Target Address" to enter the interface for adding an RTMP live streaming address; enter the target address name using "English characters," input the target live streaming address, and select a template. The templates are divided into three default output formats: 240P, 480P, and 720P. Finally, click the "Submit" button; the setup is complete.
Note: Advanced "Template Settings": Allows adjustments to resolution and frame rate; adjust to the desired optimal format; the bitrate is variable and cannot be changed.
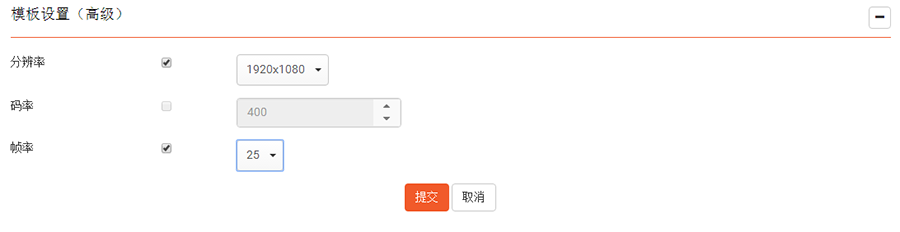
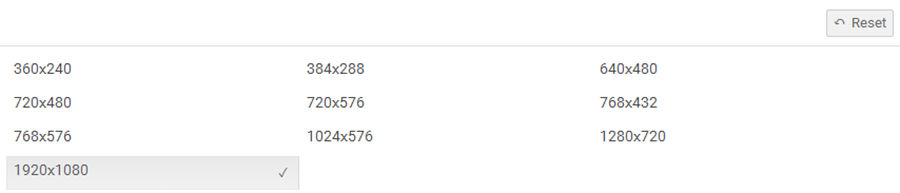
The supported resolutions are as follows:
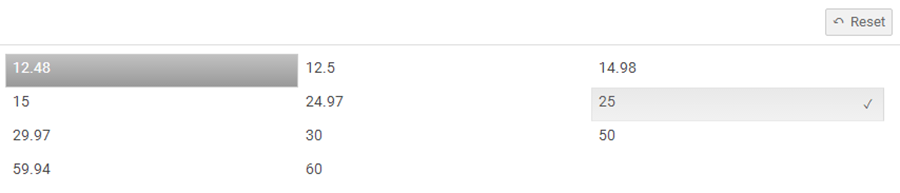
The supported frame rates are as follows:
5. After the streaming address configuration is complete, a message indicating successful configuration will pop up in the "upper right corner."

6. Click the "Start Device" button - - Start the live broadcast. Once the live broadcast has started normally, the phrase "Live Started" will pop up in the upper right corner;
7. Click the "Stop Live Broadcast" button - - End the live broadcast.
